Replacing your old windows with new, energy-efficient ones is a great way to enhance the beauty, comfort, and energy efficiency of your home. Plastic windows, also known as vinyl windows, are a popular choice among homeowners in Canada due to their durability, low maintenance, and energy efficiency. If you are considering installing plastic windows in your home, but don’t know where to start, then this beginner’s guide is for you.
Choose the Right Type of Plastic Windows
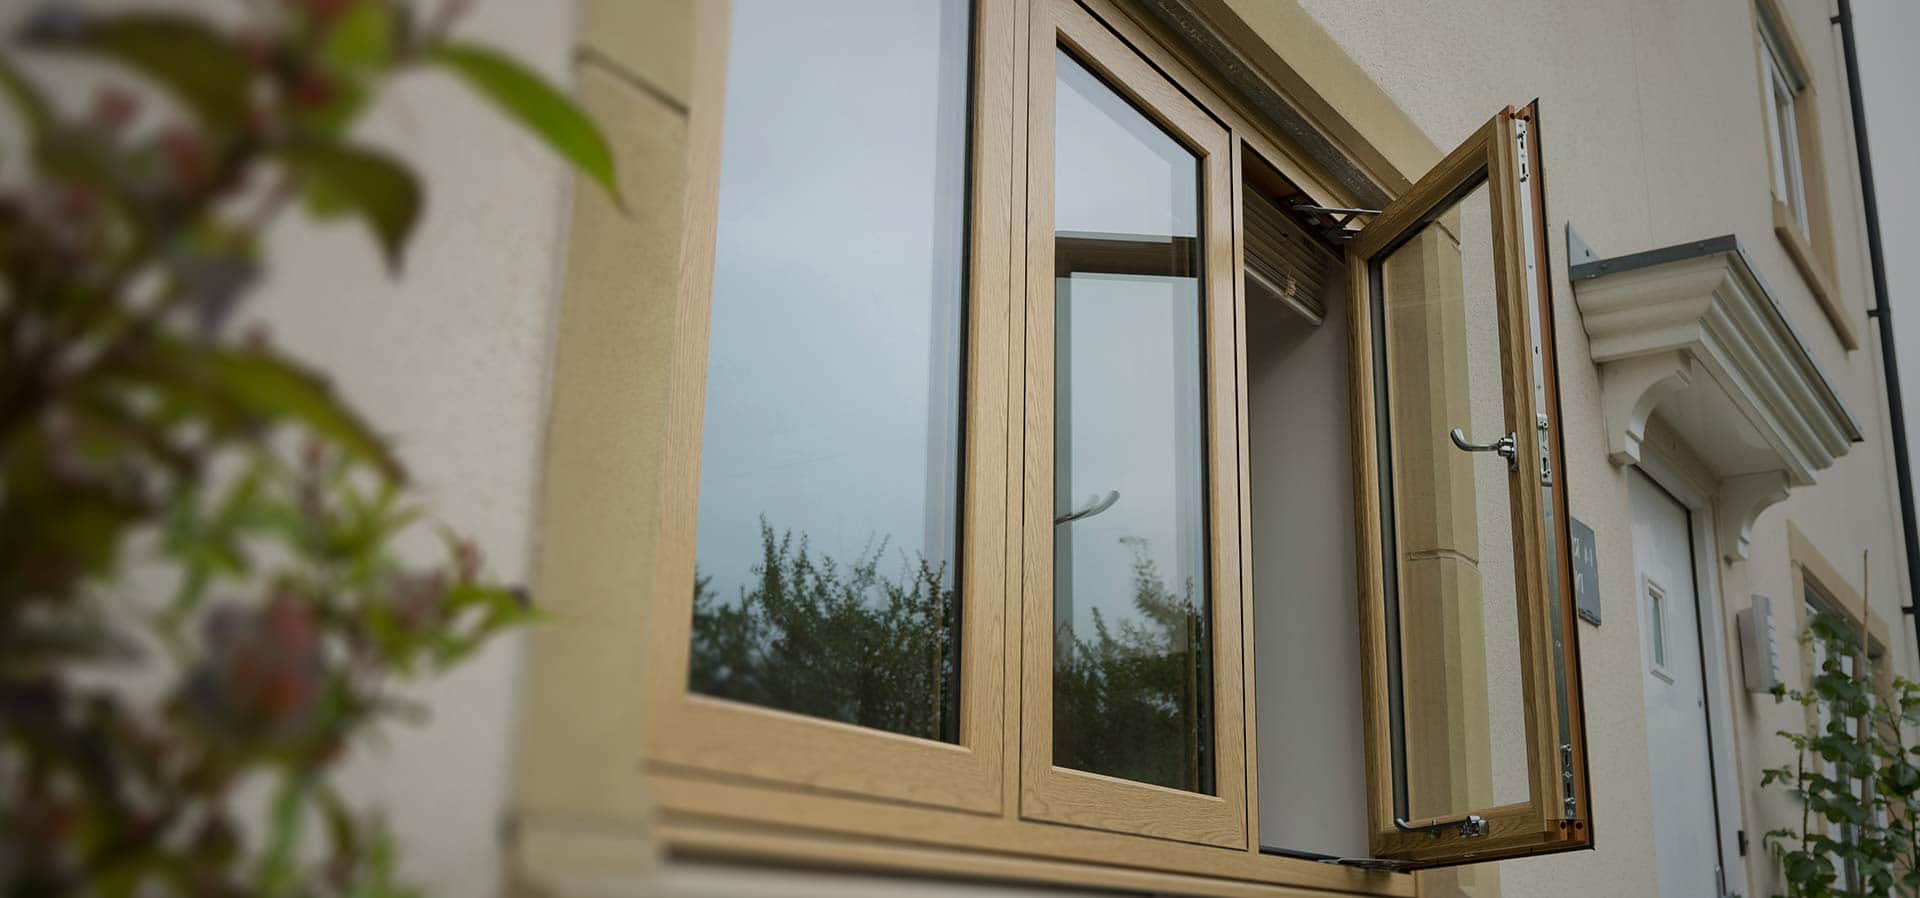
Plastic windows come in a variety of styles, shapes, sizes, and colors to fit your home’s architectural design and your personal preferences. Some of the popular styles of plastic windows include double-hung, single-hung, sliding, casement, awning, bay, and bow windows. Each style has its unique features, benefits, and drawbacks, so it’s important to choose the one that best suits your needs and budget.
Measure Your Windows Accurately

To ensure a proper fit, it’s important to measure your old windows accurately before ordering your new plastic windows. Measure the width, height, and depth of the window opening, as well as the distance between the frame and the surrounding wall. If you are not sure how to measure your windows, you can hire a professional window installer to do it for you.
Prepare the Window Opening
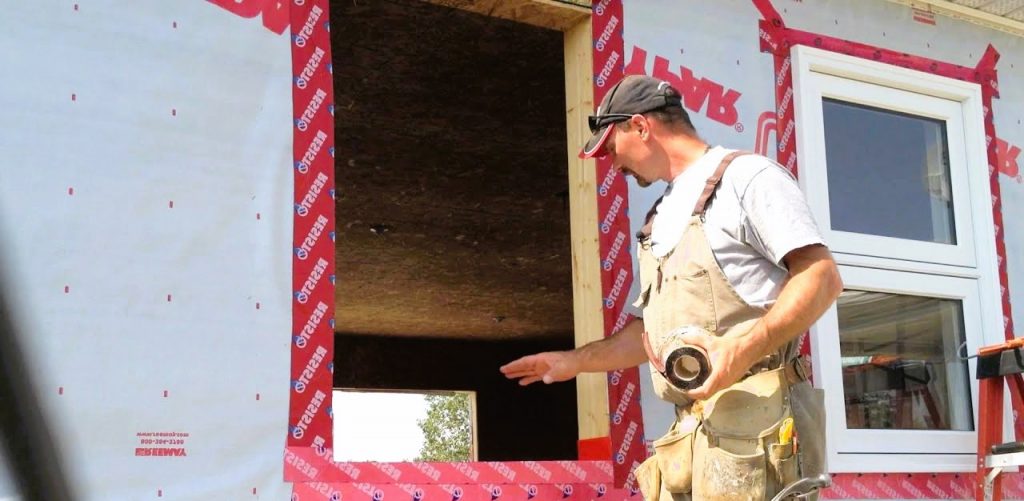
Before installing your new plastic windows, you need to prepare the window opening by removing the old window, cleaning the area, and making sure that the opening is free of debris and moisture. You may also need to repair or replace any damaged or rotten parts of the frame or sill. Do you want to save money on plastic windows? Then read this article.
Install the New Plastic Windows
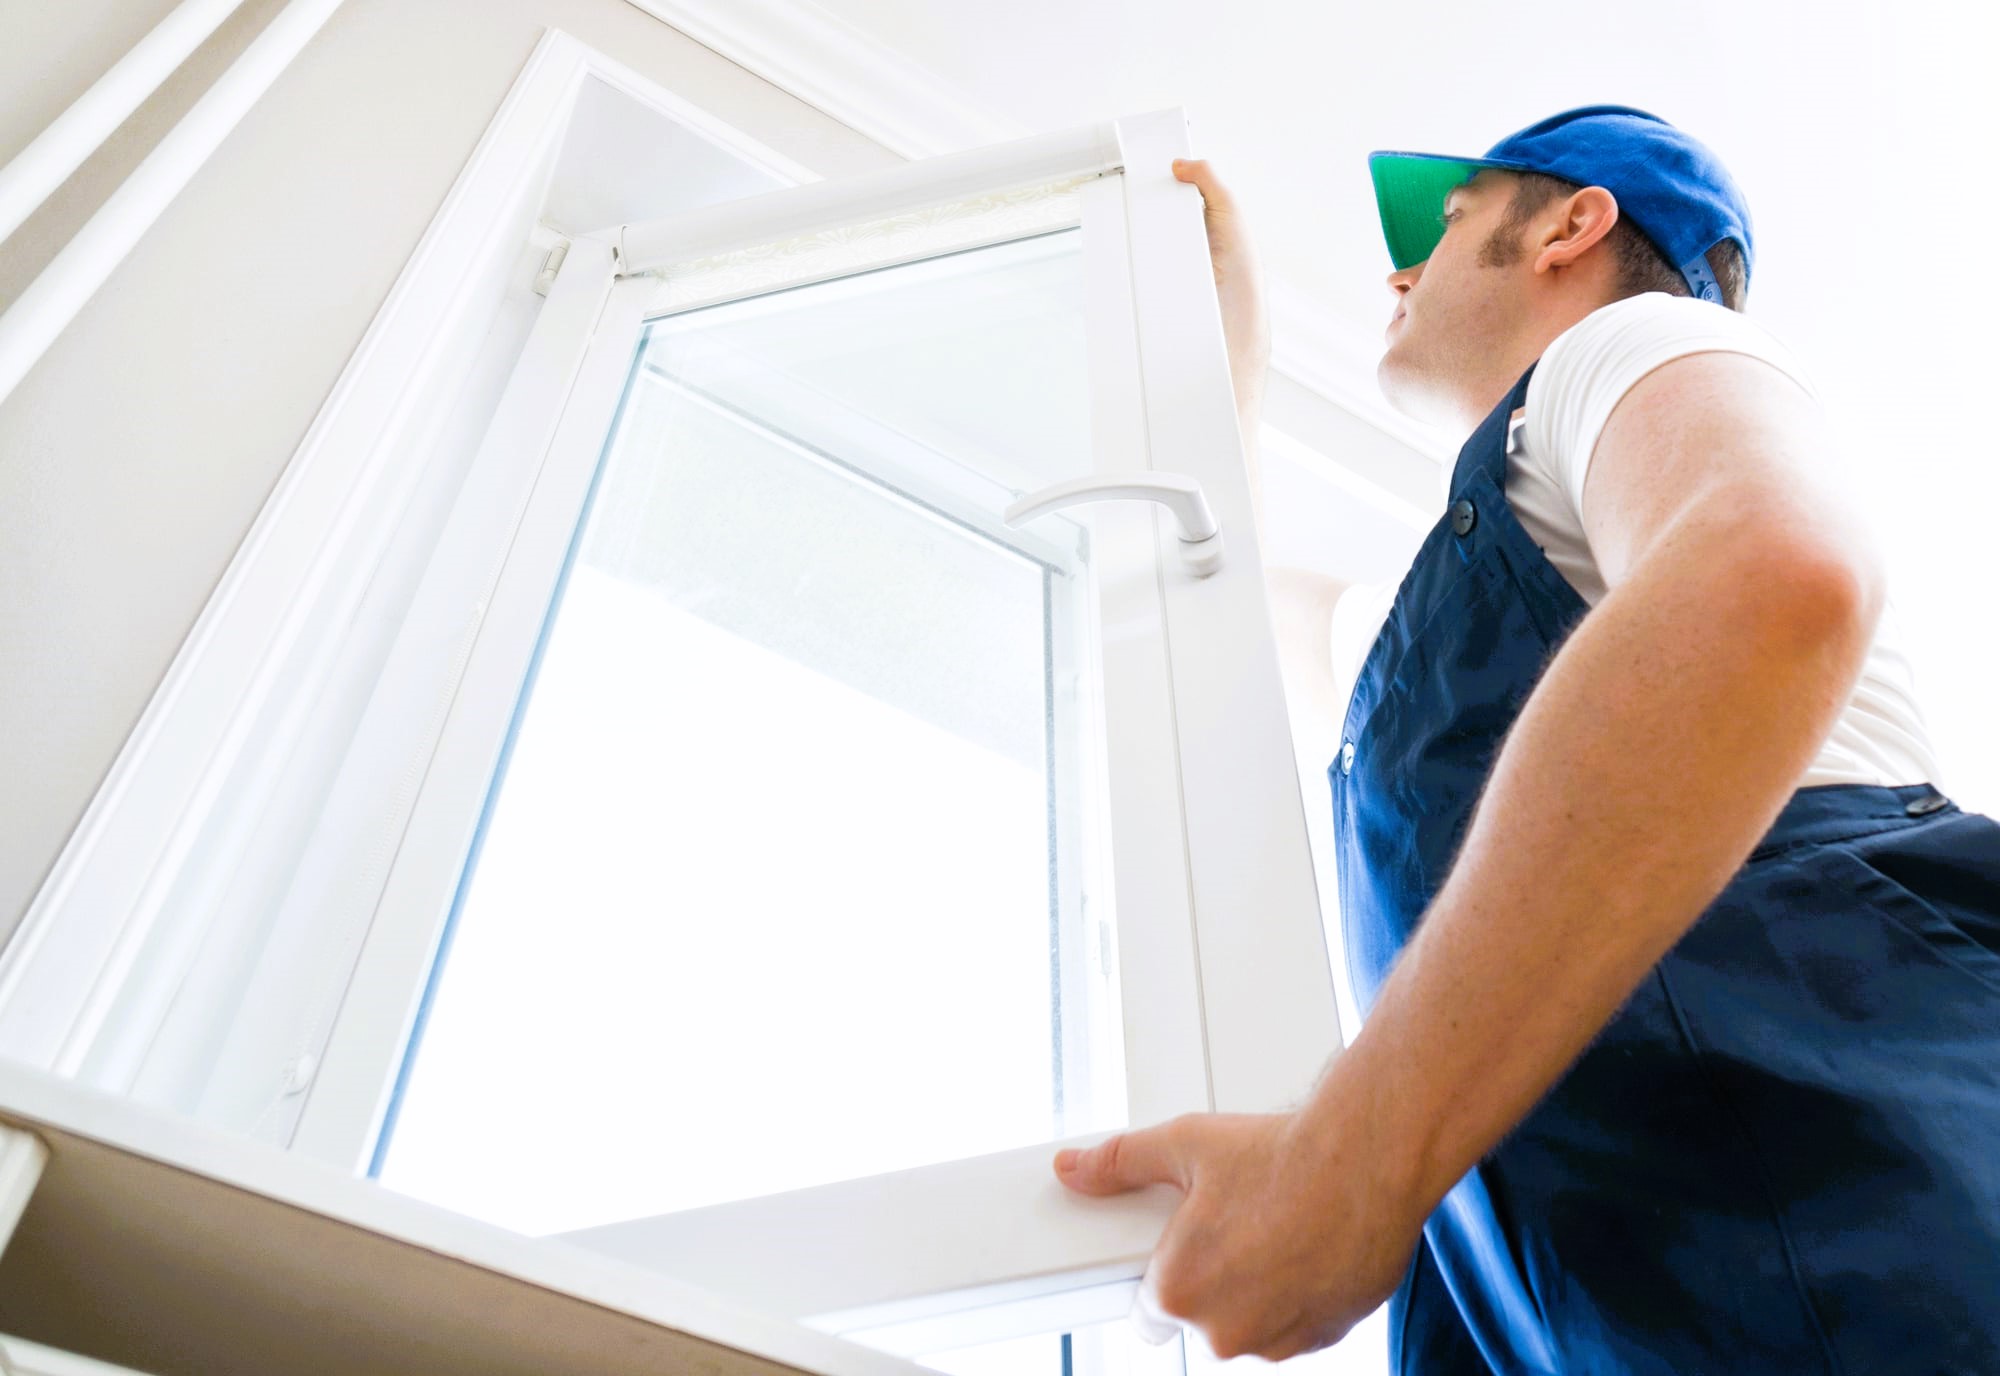
Once the window opening is ready, you can start installing your new plastic windows. Follow the manufacturer’s instructions carefully, and make sure that the window is level, plumb, and square. Use shims to adjust the fit, and secure the window in place with screws or nails. Seal the gaps between the window frame and the opening with caulking or foam insulation.
Finish the Installation

After the plastic window is installed, you need to finish the job by installing the interior and exterior trim, as well as the hardware, such as locks, handles, and cranks. Make sure that the window operates smoothly, and test it for air leaks and drafts. Finally, clean the window and the surrounding area with a mild detergent and water, and enjoy your new, energy-efficient plastic windows.
Hire a Professional Installer
If you are not comfortable installing your own plastic windows, or if you have a large or complex installation project, then it’s best to hire a professional window installer. A reputable installer will have the experience, tools, and skills to install your windows safely, efficiently, and according to code. They will also offer a warranty or guarantee for their work, and help you choose the right type and style of windows for your home and budget.
In conclusion, installing plastic windows in your Canadian home is a wise investment that can save you money, enhance your home’s curb appeal, and improve your quality of life. By following these simple steps, you can ensure a successful and hassle-free window installation project that will bring you years of comfort and energy savings.


